Enjoy 20% off your first order!
How to Make Quilled Paper Lily of the Valley Flowers: A Guide for Beginners
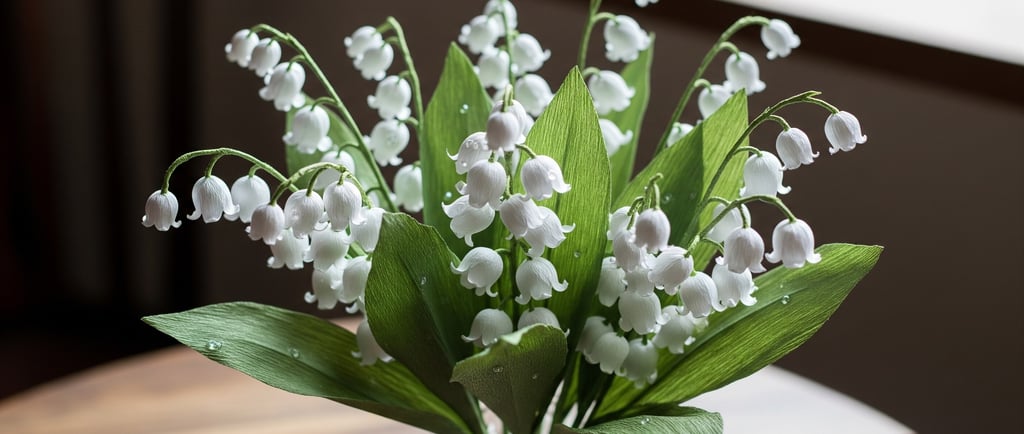
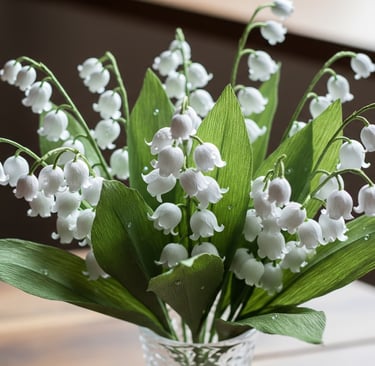
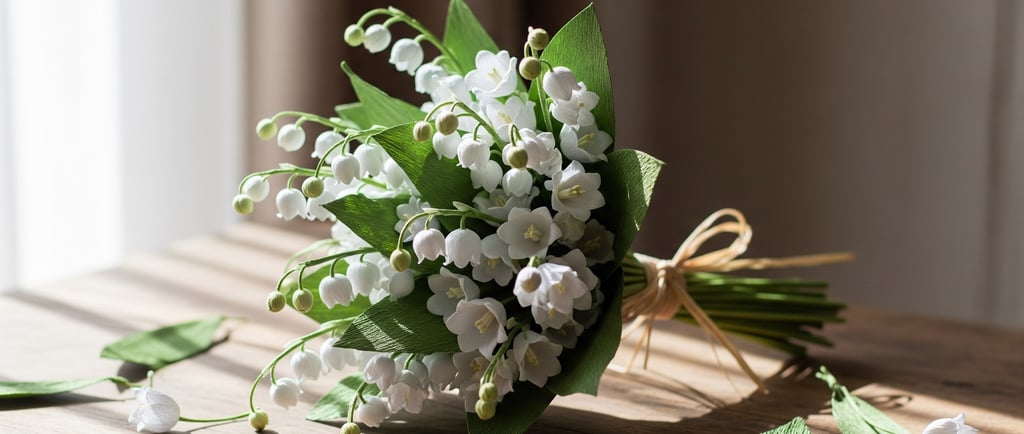
Love the timeless beauty of lily of the valley? Learn how to capture their delicate charm in a stunning, long-lasting paper quilled bouquet. This beginner-friendly project is the perfect way to practice foundational quilling techniques and create a beautiful piece of art that will never wilt. Get ready to craft a forever-blooming bunch that brings the joy of spring indoors.
9/2/20256 min read
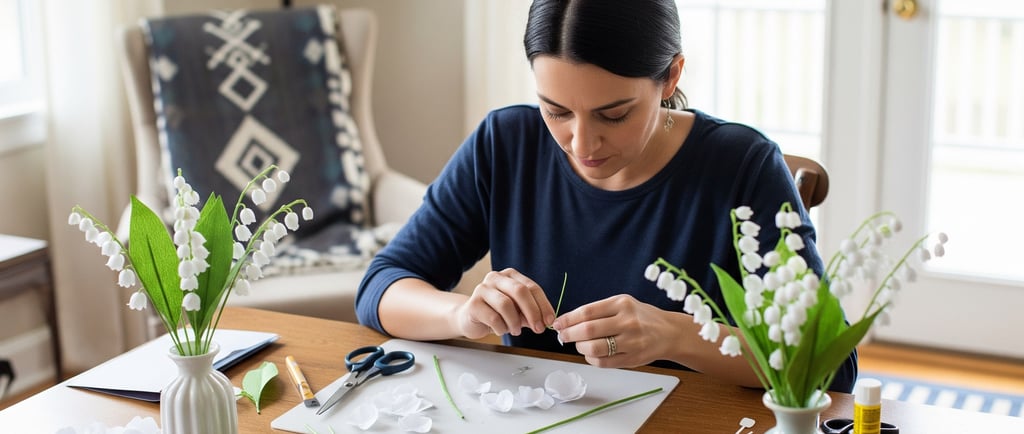
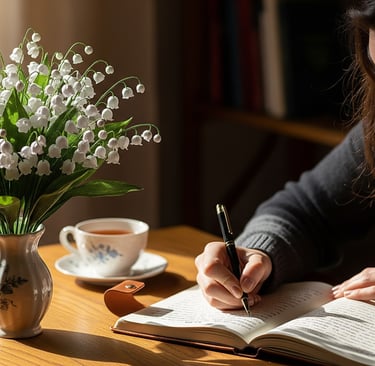
When you think of springtime, what comes to mind? For me, it's those quiet moments in the garden, a gentle breeze rustling through the leaves, and the unmistakable, sweet scent of lily of the valley. Those tiny, bell-shaped flowers are just pure joy, aren't they? They're delicate, they're classic, and honestly, they've got this timeless charm that's hard to beat. Now, what if I told you that you could capture that same feeling and create your very own forever-blooming bunch using just a little bit of paper and some creativity?
That's the magic of paper quilling. If you’ve ever seen rolled paper art, you know how incredibly versatile it is. You can create just about anything, from abstract designs to intricate miniature scenes. Today, we're going to dive into a project that's perfect for anyone—whether you’re a seasoned quilling pro or just getting your hands on a slotted tool for the first time. We'll be making a beautiful quilled lily of the valley bouquet that will never wilt.
This project is a fantastic way to practice some foundational quilling techniques while crafting a stunning piece of paper art. We'll walk through everything from the simple coils to assembling your very own DIY bouquet. Let's get to it!
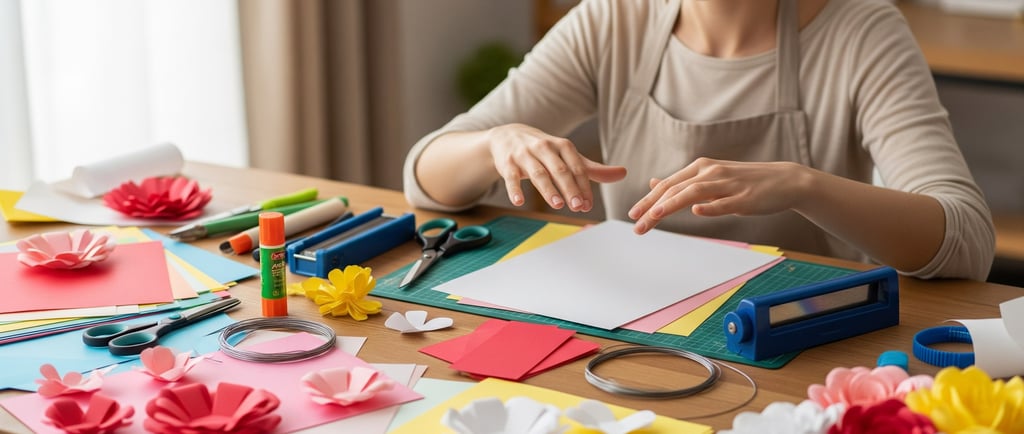
Essential Tools and Quilling Supplies for Your Project
First things first, you need the right stuff. Don't worry, you probably have a lot of this lying around. For these quilled creations, you'll need a few key quilling supplies.
Quilling paper: You'll want some green for the stems and leaves, and white or a pale pink for the flowers. A width of 1/8" is pretty standard and works perfectly.
White glue: I always recommend using a glue with a fine-tip applicator. It makes life so much easier when you’re working with small paper strips.
A quilling tool: This can be a slotted tool or a needle tool. Either one works to get those paper strips perfectly rolled.
A work surface: A cork board covered with waxed paper is a great choice. You'll also want some straight pins to help hold things in place as the glue dries.
That's about it. Seriously. It’s amazing what you can create with such a small list of materials. And if you're a beginner, just remember: it's all about practice. Don’t get discouraged if your first coil isn't perfect. Mine certainly weren't!
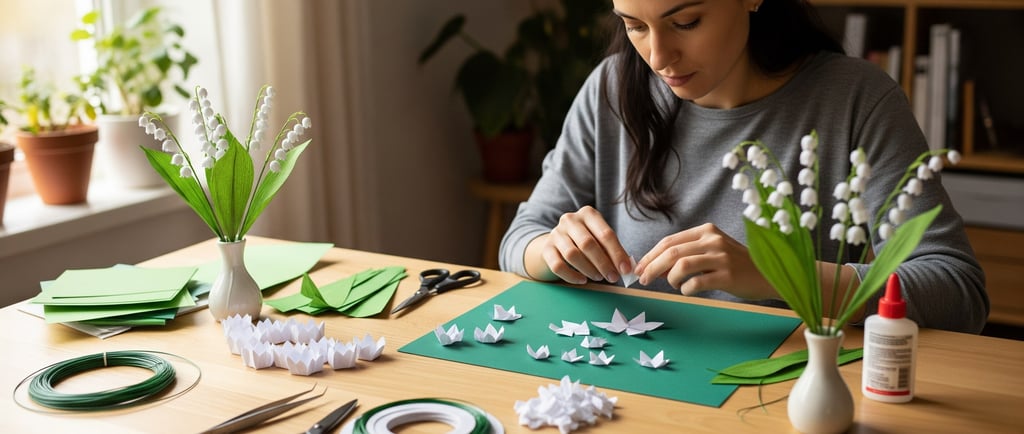

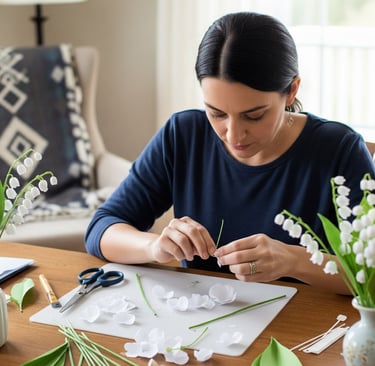
Creating the Delicate Quilled Paper Flower Buds
This is where the magic really starts. We’re going to be making a few different shapes to form our flowers. We'll use three 6-inch strips of quilling paper for each flower.
Start with the center coil. Roll one of the 6-inch strips into an open coil. Glue the end to secure it, but keep it a bit loose. Once it's set, pinch one side to create a classic teardrop shape. This will be the main body of your little bell flower.
Form the petals. Take your other two paper strips and repeat the open coil process. This time, however, you'll want to pinch both ends of each coil to form a marquise shape. This kind of elongated eye shape is what will give the flower its lovely, natural-looking curves.
Bring it all together. Now for the assembly. Glue the two marquise shapes to either side of the teardrop. It's a bit like creating a tiny, three-part bell. You can arrange them so they overlap slightly, giving the flower a three-dimensional look.
Want to add some variety? You can also make a few partially bloomed flowers by using half-moon shapes instead of marquises. Just pinch one end of the coil into a rounded curve instead of a point. It’s those little variations that make the finished bouquet look so wonderfully organic.
Crafting the Leaves and Stems for Your Quilling Creation
A lily of the valley is nothing without its beautiful, broad leaves. For this part of the DIY paper flowers project, you'll need some darker green paper.
For the large leaves, stack about 8 to 10 strips of quilling paper on top of each other. Glue them together progressively, so each end is slightly higher than the one underneath. This creates a natural peak. Once dry, run your quilling tool along the length of each strip to give it a gentle curve. Hold the whole lot sideways and pull the individual strips until the leaf looks just right.
For the small, subtle leaves, a 4-inch strip of green paper works perfectly. Just roll it into an open coil and pinch it into a teardrop or marquise shape. These can be tucked in near the flowers for a little extra foliage.
Next, you need to create the short stems that connect the flower buds to the main stalk. Just fold a 3- to 4-inch strip of green paper in half and glue the halves together, leaving a small portion unglued at one end. This unglued end is what you'll attach to the bottom of each flower.
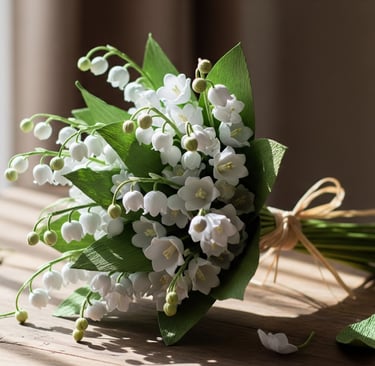
Finally, for the main stem, a single strip of quilling paper with a gentle bend will do the trick. Now it’s just a matter of playing around with the placement of your quilled leaves and flowers until you're happy with the arrangement. This is where your inner artist really gets to shine.
FAQs: Paper Lily of the Valley Flowers
Q: What if my coils are too tight?
A: Don’t worry, that’s a super common issue. If you're using a slotted tool, a little tip is to let the coil unroll slightly before you glue it. The beauty of open coils is that they don’t need to be perfectly uniform. The slight imperfections are what give your finished pieces their unique charm.
Q: What's the difference between a slotted tool and a needle tool?
A: A slotted tool has a small opening at the end to slide the paper strip into, which makes it very easy for beginners. A needle tool requires a bit more dexterity and is often used for creating more precise, tighter coils. For this project, a slotted tool is probably your best bet.
Q: Can I use different colors?
A: Absolutely! Lily of the valley are typically white, but you can choose any color you like. Pale pink, light blue, or even a soft yellow could look amazing. This is your creation, after all, so let your imagination run wild.
Q: How do I make my quilled flowers look more realistic?
A: It's all about the details. Try adding a tiny stamen—a very small, tight coil of yellow or pale pink paper—to the center of your flowers. Also, varying the sizes of your leaves and flowers, just as they appear in nature, will give your final bouquet a more authentic feel.
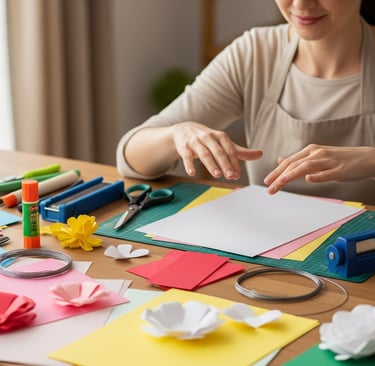
Why Paper Quilling is the Perfect Hobby
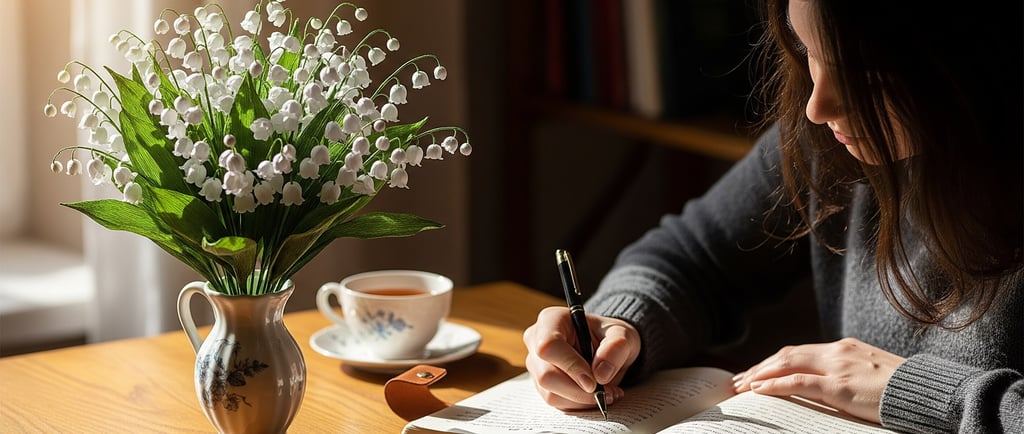
Honestly, here's the thing. Quilling isn't just a craft; it’s a form of meditation. There's something so calming and focused about rolling those paper strips, shaping them, and watching your creation come to life, piece by tiny piece. It’s a great way to de-stress and tap into your creative side.
You know what I love about it? The patience it teaches you. You can’t rush it. You have to let the glue dry. You have to take your time to get the shapes right. And at the end of the day, that slow, steady process results in something truly beautiful. So whether you're looking for a new hobby or a unique gift idea for a friend, give paper quilling a try. You might just surprise yourself with what you can create.
Elegance
Fresh Flowers, Lasting Memories
Order
© 2024. All rights reserved.